Hello, I just recently bought a Noise Engineering Legio eurorack module which uses Daisy. They say we can write our own firmware using Daisy. This is completely new to me though I would love to learn how to write firmware for my new module. Please help, thank you
Have a look at the daisy wiki
At the moment, one example is provided for the legio:
No template for “Legio” in Oopsy yet - Perhaps ask Noise Engineering / Cycling’74 to add it, if you plan on using Max gen~
1 Like
thank you very much for the quick response and the helpful information. I have one more question, should I first buy a Daisy Seed (hardware) to experiment with as opposed to using my Noise Engineering Legio eurorack module?
Thank you again,
Michael
I really don’t know what to advice you here - an extra daisy would be nice offcause, but the legio should be enough.
I don’t know if they use the seed or the patch-sm
It doesn’t come with schematics (and I asked, but they kindly refused to give it away - for versio at least), so perhaps it’s not easy to “clone” it on a breadboard if you get a daisy seed for development. Maybe it’s obvious from looking in the source-code how things are wired … I haven’t looked - I usually stay away from modules that I don’t have the schematics for.
All you have is the pin numbers here.
If you think you need one for development, buy 2x legio.
If you want to tinker, add your own pots, switches, leds, display etc, without risking the legio … perhaps get the Daisy Pod when it’s avaiable again.
Or patch.Init() — Electro-Smith
or wait - see this
1 Like
Hi there
I’m completely new to this.
I went to the web programmer and the DFU in FS mode wasn’t listed. I found drivers on the internet but now the ‘Flash Blink!’ button is still greyed out
I found a page on the forum that mentioned this but suggested a linux solution while I’m using windows
If anyone out there could help that would be great!
Thanks
Check out the topic:
and check your USB cable - could be defective or power only.
Might need to run zadig:
If you are on Windows you might need to use Zadig to select a different USB driver.
To begin, download Zadig. Use the most recent version.
Launch Zadig and then put the Daisy into bootloader mode by holding BOOT and pressing RESET.
Click the Options menu in Zadig and select “List All Devices.”
In the drop down menu inside the main window, select “DFU in FS mode,” followed by selecting WinUSB in the target driver box.
Click “Replace Driver.” Zadig will update to the appropriate driver to flash Daisy.
These instructions are also in the Windows Toolchain Install Wiki page on GitHub with screenshots.
edit: To clarify, Zadig is not only for command line programming but can be used for the Web Progammer as well on Windows. It should fix the connectivity problem if the USB driver is to blame.
1 Like
I’ll order a new cable and see how I do. Thanks!
Anyone know if legio used a seed or a patch?
Noise Engineering Legio uses a Seed2 DFM.
This is a soon to be released version of the Daisy which is an improved version of the Daisy Seed.
1 Like
I am learning Pd, Plugdata, Arduino IDE, and Max MSP.
I have managed to flash a Pd file to Daisy Pod and it worked!
I have managed to flash an Arduino file using the IDE and it worked! Actually tried a number of files.
I have not managed to flash a Max oopsy file to the Daisy Pod. I tried the oopsy_pod template and all I get is noise and feedback.
Could you please do a video on using this template, setting up with the Daisy Pod, and explaining what the template parts do?
It would help greatly!
1 Like
Hey Astrin!
Thank you for your video suggestion!
Even for folks with Daisy Seed, analyzing Daisy Pod’s template and JSON file is a great way to learn how hardware configuration and mapping work with Daisy!
And I saw in another forum post that you were able to solve the oopsy_pod issue and I’m happy to hear that! I’ll be having a closer look at that post in a few.
By the way, welcome to the community!!
1 Like
Hi! I’ve recently got Daisy Rev7 and have trouble connecting it to Arduino. I get an error 1.
I’ve installed the libs + STM32 CUBE Programmer. Followed this tutorial: https://youtu.be/UyQWK8JFTps?si=_g3TUmbqpkndA0Y0
I’ve managed to upload the blink code via Daisy Web Programmer (blinking red like the success one), so it seems my USB cable is fine.
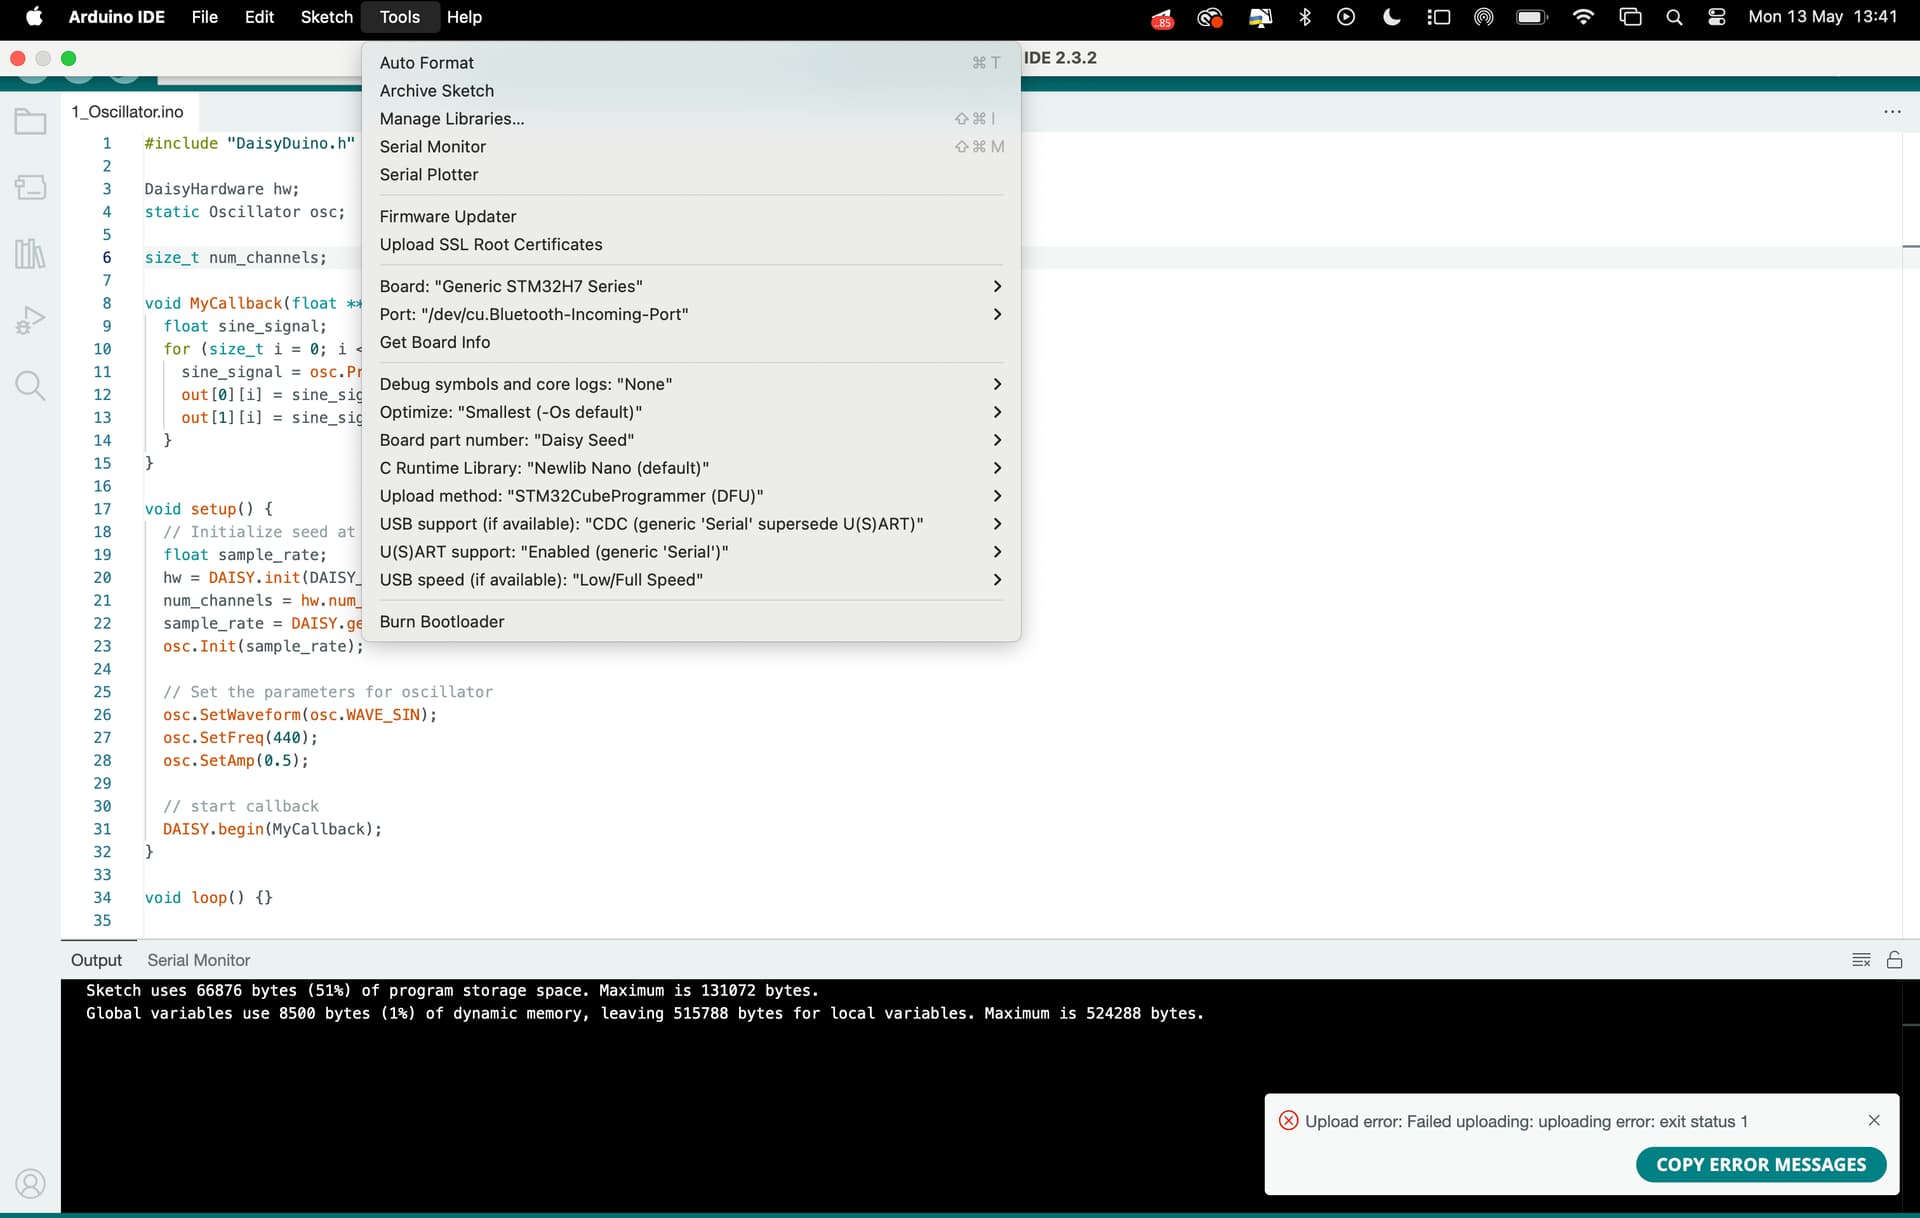
Will appreciate your help, really need to figure this out asap for my upcoming installation, many thanks!
You need to put the Daisy in DFU mode, with the button press, and then you need to select the correct Port.
Hi, thanks for your response! I’ve been rebooting Daisy, but I’m also not seeing the USB port (only the Bluetooth default one)
I suspect there’s an issue with the port detection, but I’ve been using Arduino Uno before and never had such a problem. Any idea why this might be happening? And thanks!
Ignore (for now) what I wrote about Port - that only applies when you are trying to use Serial over USB to print to the Serial Monitor.
‘Rebooting’ isn’t the same as putting it in DFU mode.
Putting it in DFU mode is: press and hold BOOT, press RESET, release BOTH.
This must be done each time you want to upload a program - whether in Web Programmer or Arduino IDE.
Thanks, that’s exactly what I’ve been doing, and I managed to make it work in Web Programmer tool
Any idea what else might cause an issue? Thanks
No ideas, but I’d suggest going into Arduino preferences and setting Show verbose output during upload.
Maybe it will say something helpful.
As a heads up - installing the toolchain on MacOs sequoia is now a little harder since right-click and select Open won’t work. You need to got to the settings app, select “Privacy and Security”, scroll down to “Security” and confirm you want to open the untrusted package there.
Text from 1b. Installing the Toolchain on Mac · electro-smith/DaisyWiki Wiki · GitHub needs changing please.
And can we get apple silicon native package rathe than needing to run in x86 emulation please.
“Installer” cannot be opened because it is from an unidentified developer
If you encounter this popup and don’t see an “Open” button, you probably double-clicked or opened the package directly. You’ll have to right-click the package in Finder and select “Open” from the context menu.
I’m really sorry for the delay in response!
We included this info on the Mac Toolchain section of our new support site.
Thank you so much for bringing this up!
Thank you very much! Today, a batch of Daisy Seed came to me in Siberia, having covered a distance of 10,000 km. Although not on the first attempt, I managed to run the first example of blinking, using what we call “Shamanic dancing with a tambourine.” Everything is working perfectly! Now I will be able to port many VST plug-ins that I have developed over the years to this microcontroller. :![]() :
:
3 Likes