Hello all,
I am very new to this space so please bear with me. I am a master’s student trying to build my simple polyphonic synth for my research. I have a good understanding of electronics building my own DIY monophonic synth last year but my coding experience is not as good. I have not coded for close to 6 years!
For more context, I’m using a Daisy seed 65 MB with the program studio visual code in C++.
I am aware of the many projects online showing MIDI input, however, I’m struggling to understand how these projects have been put together.
I plan to create a MIDI in circuit such as this:
!(https://img.youtube.com/vi/GxfHijjn0ZM/maxresdefault.jpg “MIDI for the Arduino - Build a MIDI Input Circuit”)
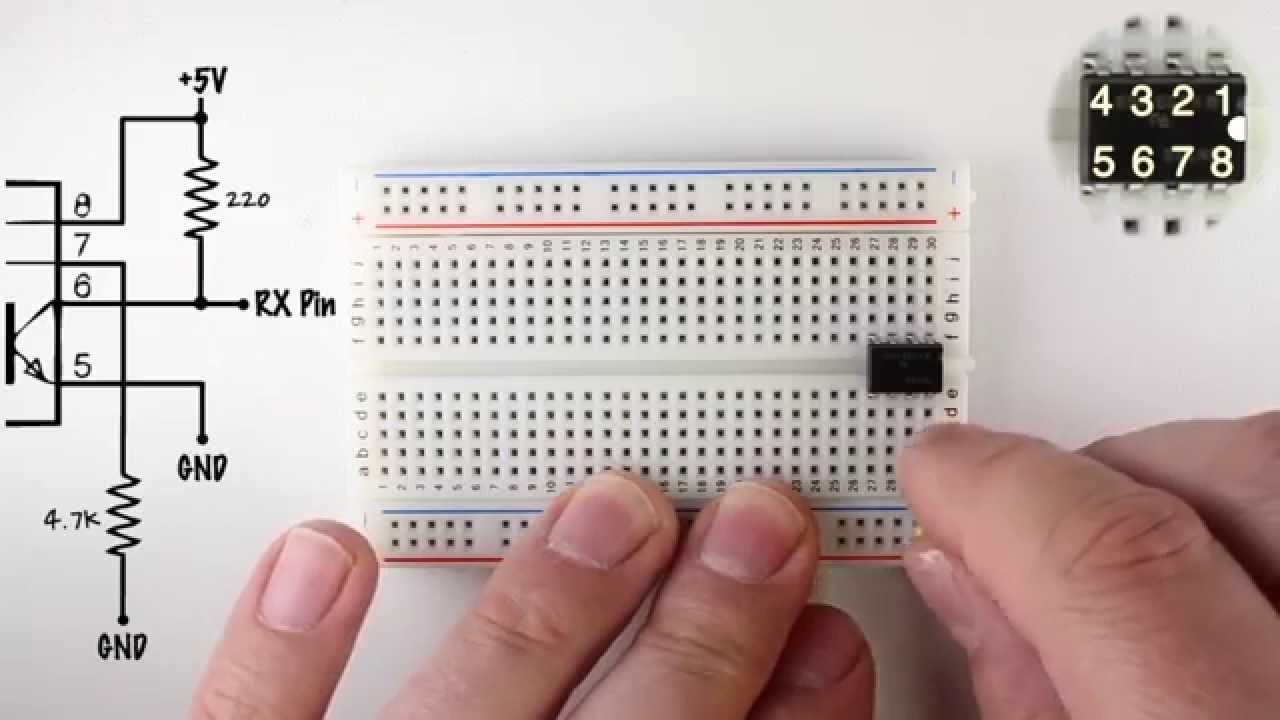
MIDI for the Arduino - Build a MIDI Input Circuit
Once I have created this circuit how can I create some code that will take the MIDI Din input signal and then output the notes pressed in the terminal/output so I can see the Daisy seed is receiving the data?
Another question I can’t seem to find an answer to online is whether there is support for USB Midi. In this case, it would be from a MIDI signal from an AKAI LPK25 which doesn’t have a MIDI Din socket, so the connection would be a Micro B USB output from the AKAI, with a USB Male A being an input for the Daisy Seed which is what would usually go into my computer. I am aware that the Daisy seed might not have enough power to support the keyboard but I’m not sure about this.
I appreciate anyone who takes the time to read this, I apologize if I have muddled up terms, I am learning as I go along and super excited to see where my project could end.
I have copied this post from a different categories so I can get more chance of a reply.