Hello guys, I would like to share my guitar pedal project that took way too long…
The goal is to create an easy to use pedal that combines the flexibility of DSP and great analog gain stage.

Here’s the signal path:
Guitar Output → Input Buffer → Input 0 of Daisy → Daisy
( → Output 1 of Daisy → Analog Module → Input 1 of Daisy → Daisy) //optional
→ Output 0 of Daisy → Output Buffer
The Analog Module contains overdrive (Based on TS9), distortion (Based on DS-1), and a Tube Boost.
The digital portion is a Daisy Seed running Arduino code.
Some features:
- A 128*64 Monochrome LCD and a 8*8 LED matrix for display. Both are connected to Daisy via SPI.
- 5 push buttons, a rotary encoder, and 4 footswitches for control.
- The knobs and mini switches on the right are for those analog modules.
- 10 presets controlled by two footswitchs. (up and down) So the user can switch between 10 different effect combinations on the fly.
- Each preset has 10 "effect slots", the user can insert any effects (including the analog module) anywhere they like and arrange them in any order.
- Easy UI navigation with four arrow keys and an enter button.
- Currently it has Reverb, Pitchshifter, Analog Module, Overdrive (digital), Fuzz (digital), Compressor, Gain, Delay, Chorus, and Flanger.
- On/Off of each analog module can be controlled digitally via relays.
- All presets and options are stored in an external EEPROM chip (via I2C), since I can't get the QSPI flash to work in Arduino.
- IR based guitar amp simulation with 4 different IRs. IR data is stored in the EEPROM
- All control inputs are handled by interrupts.
Here are some UI shots:
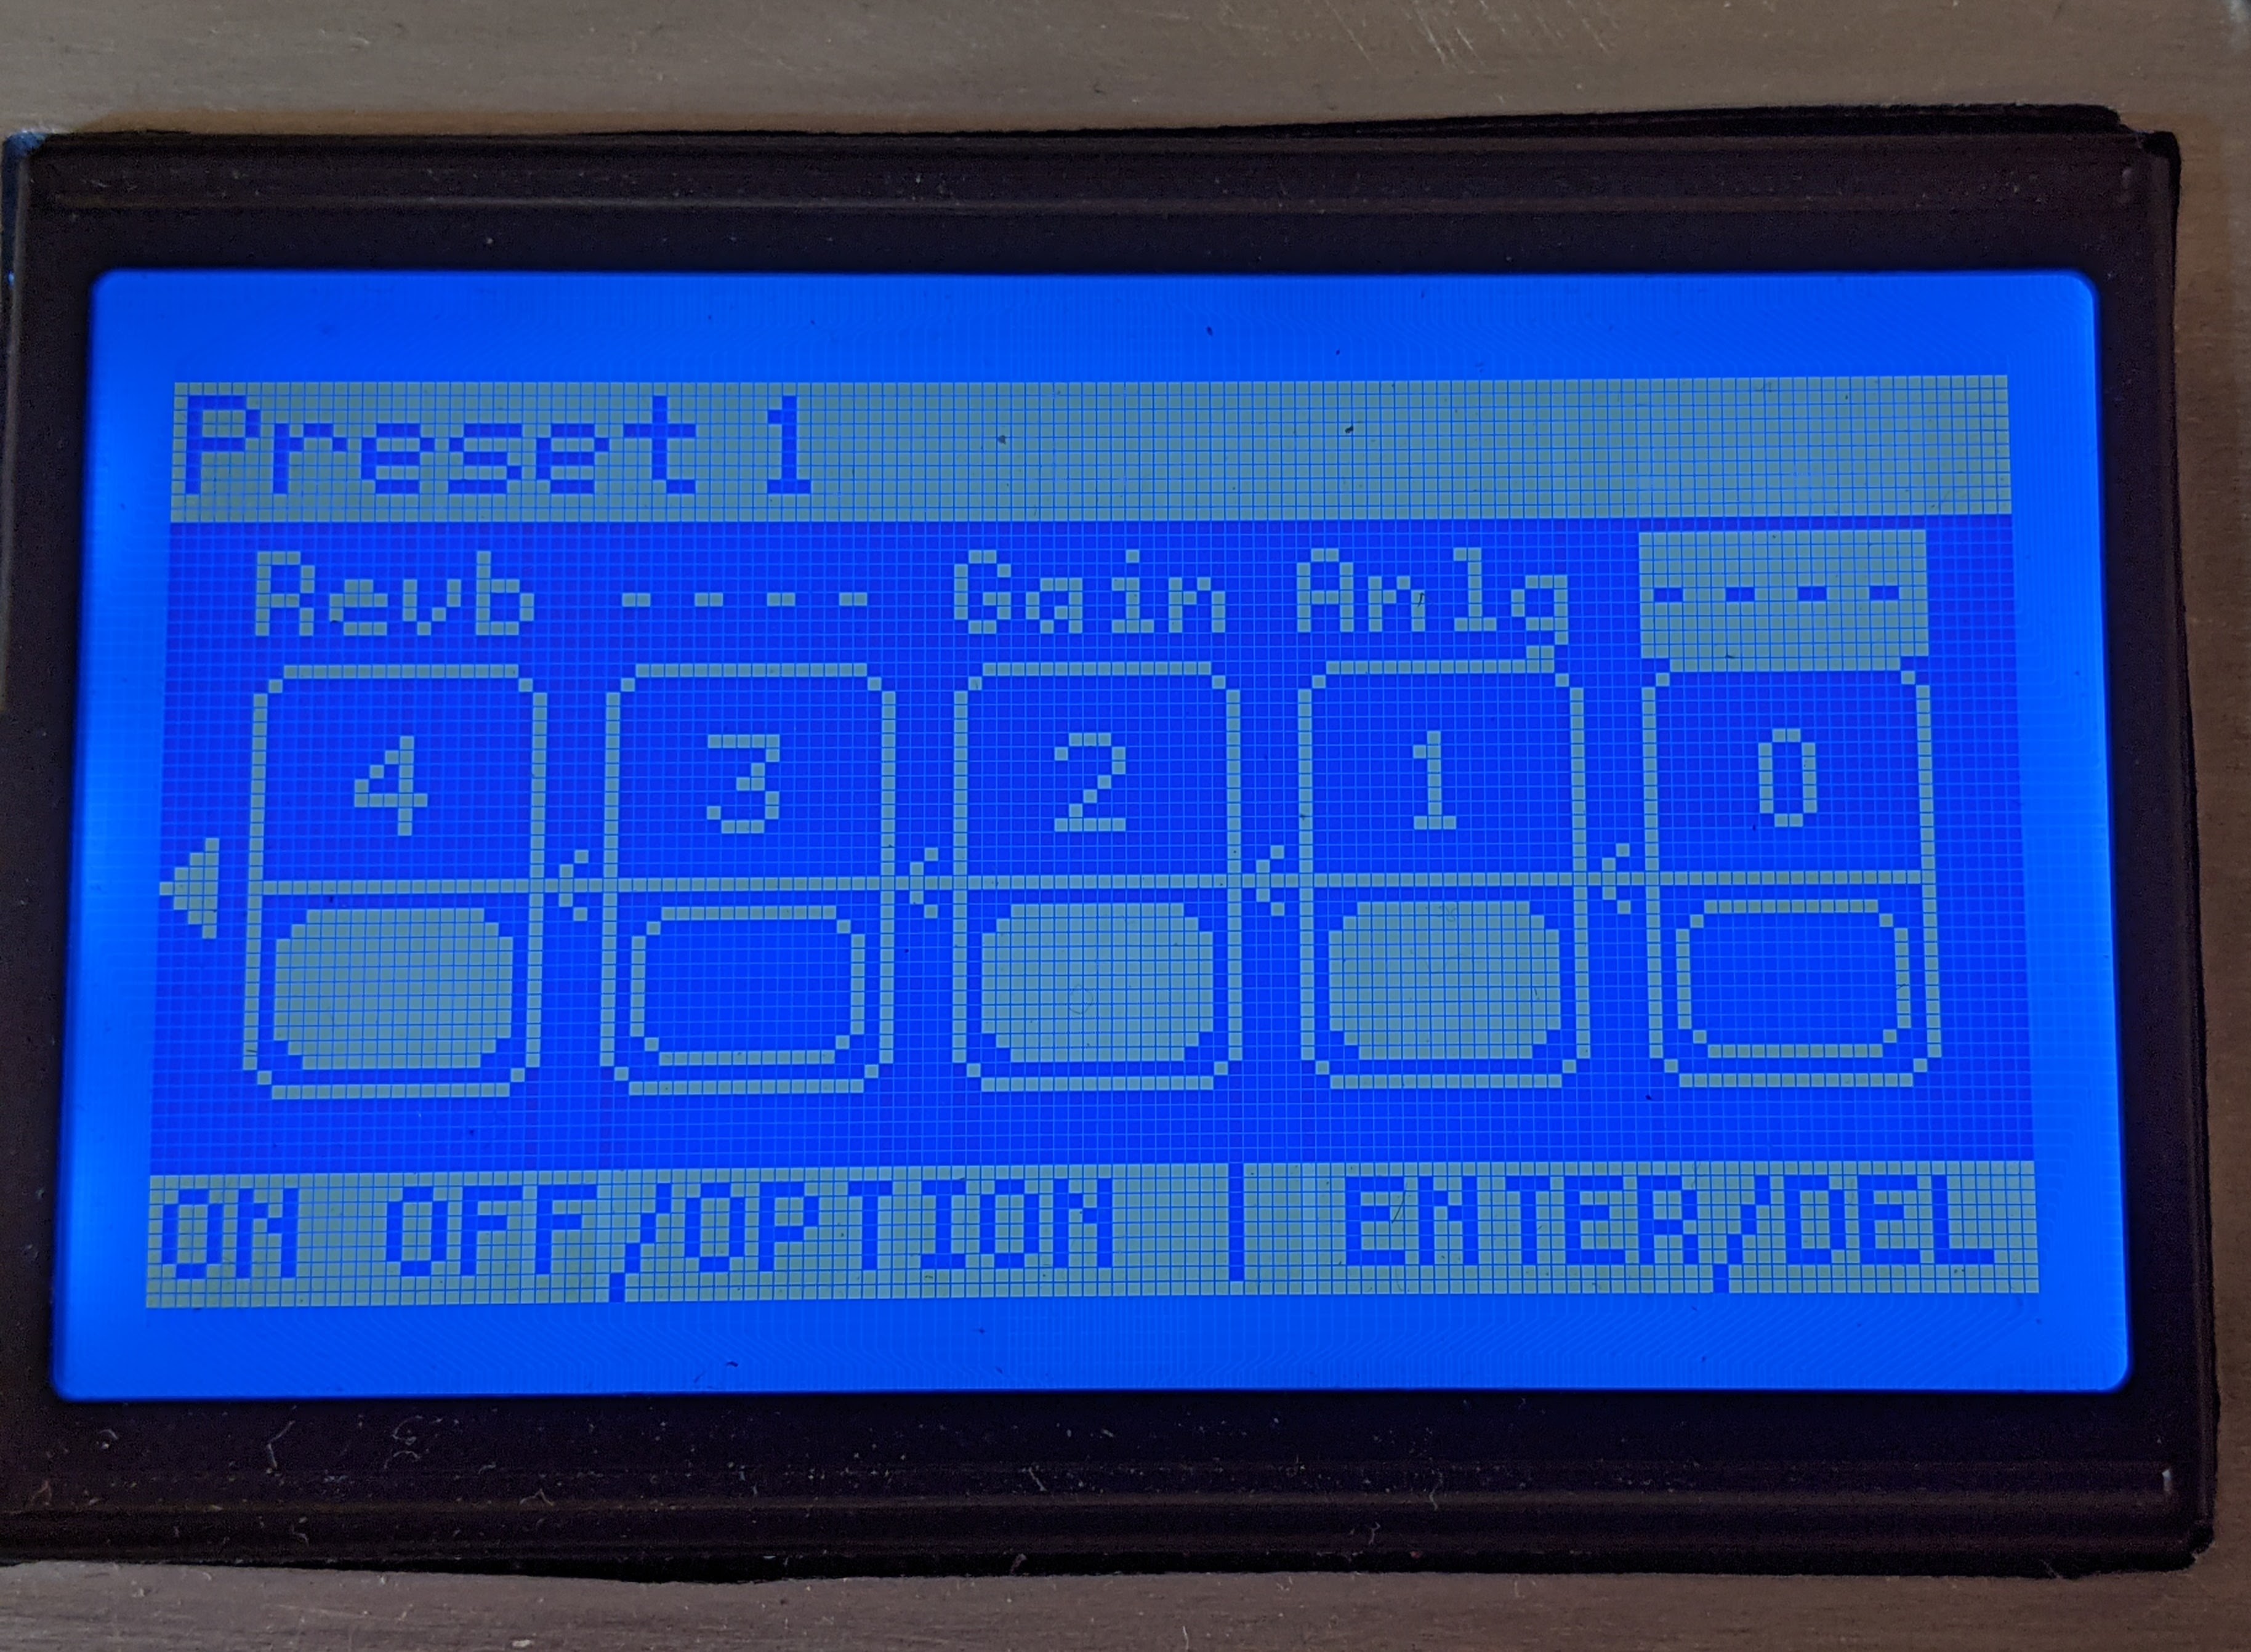
The Main menu:
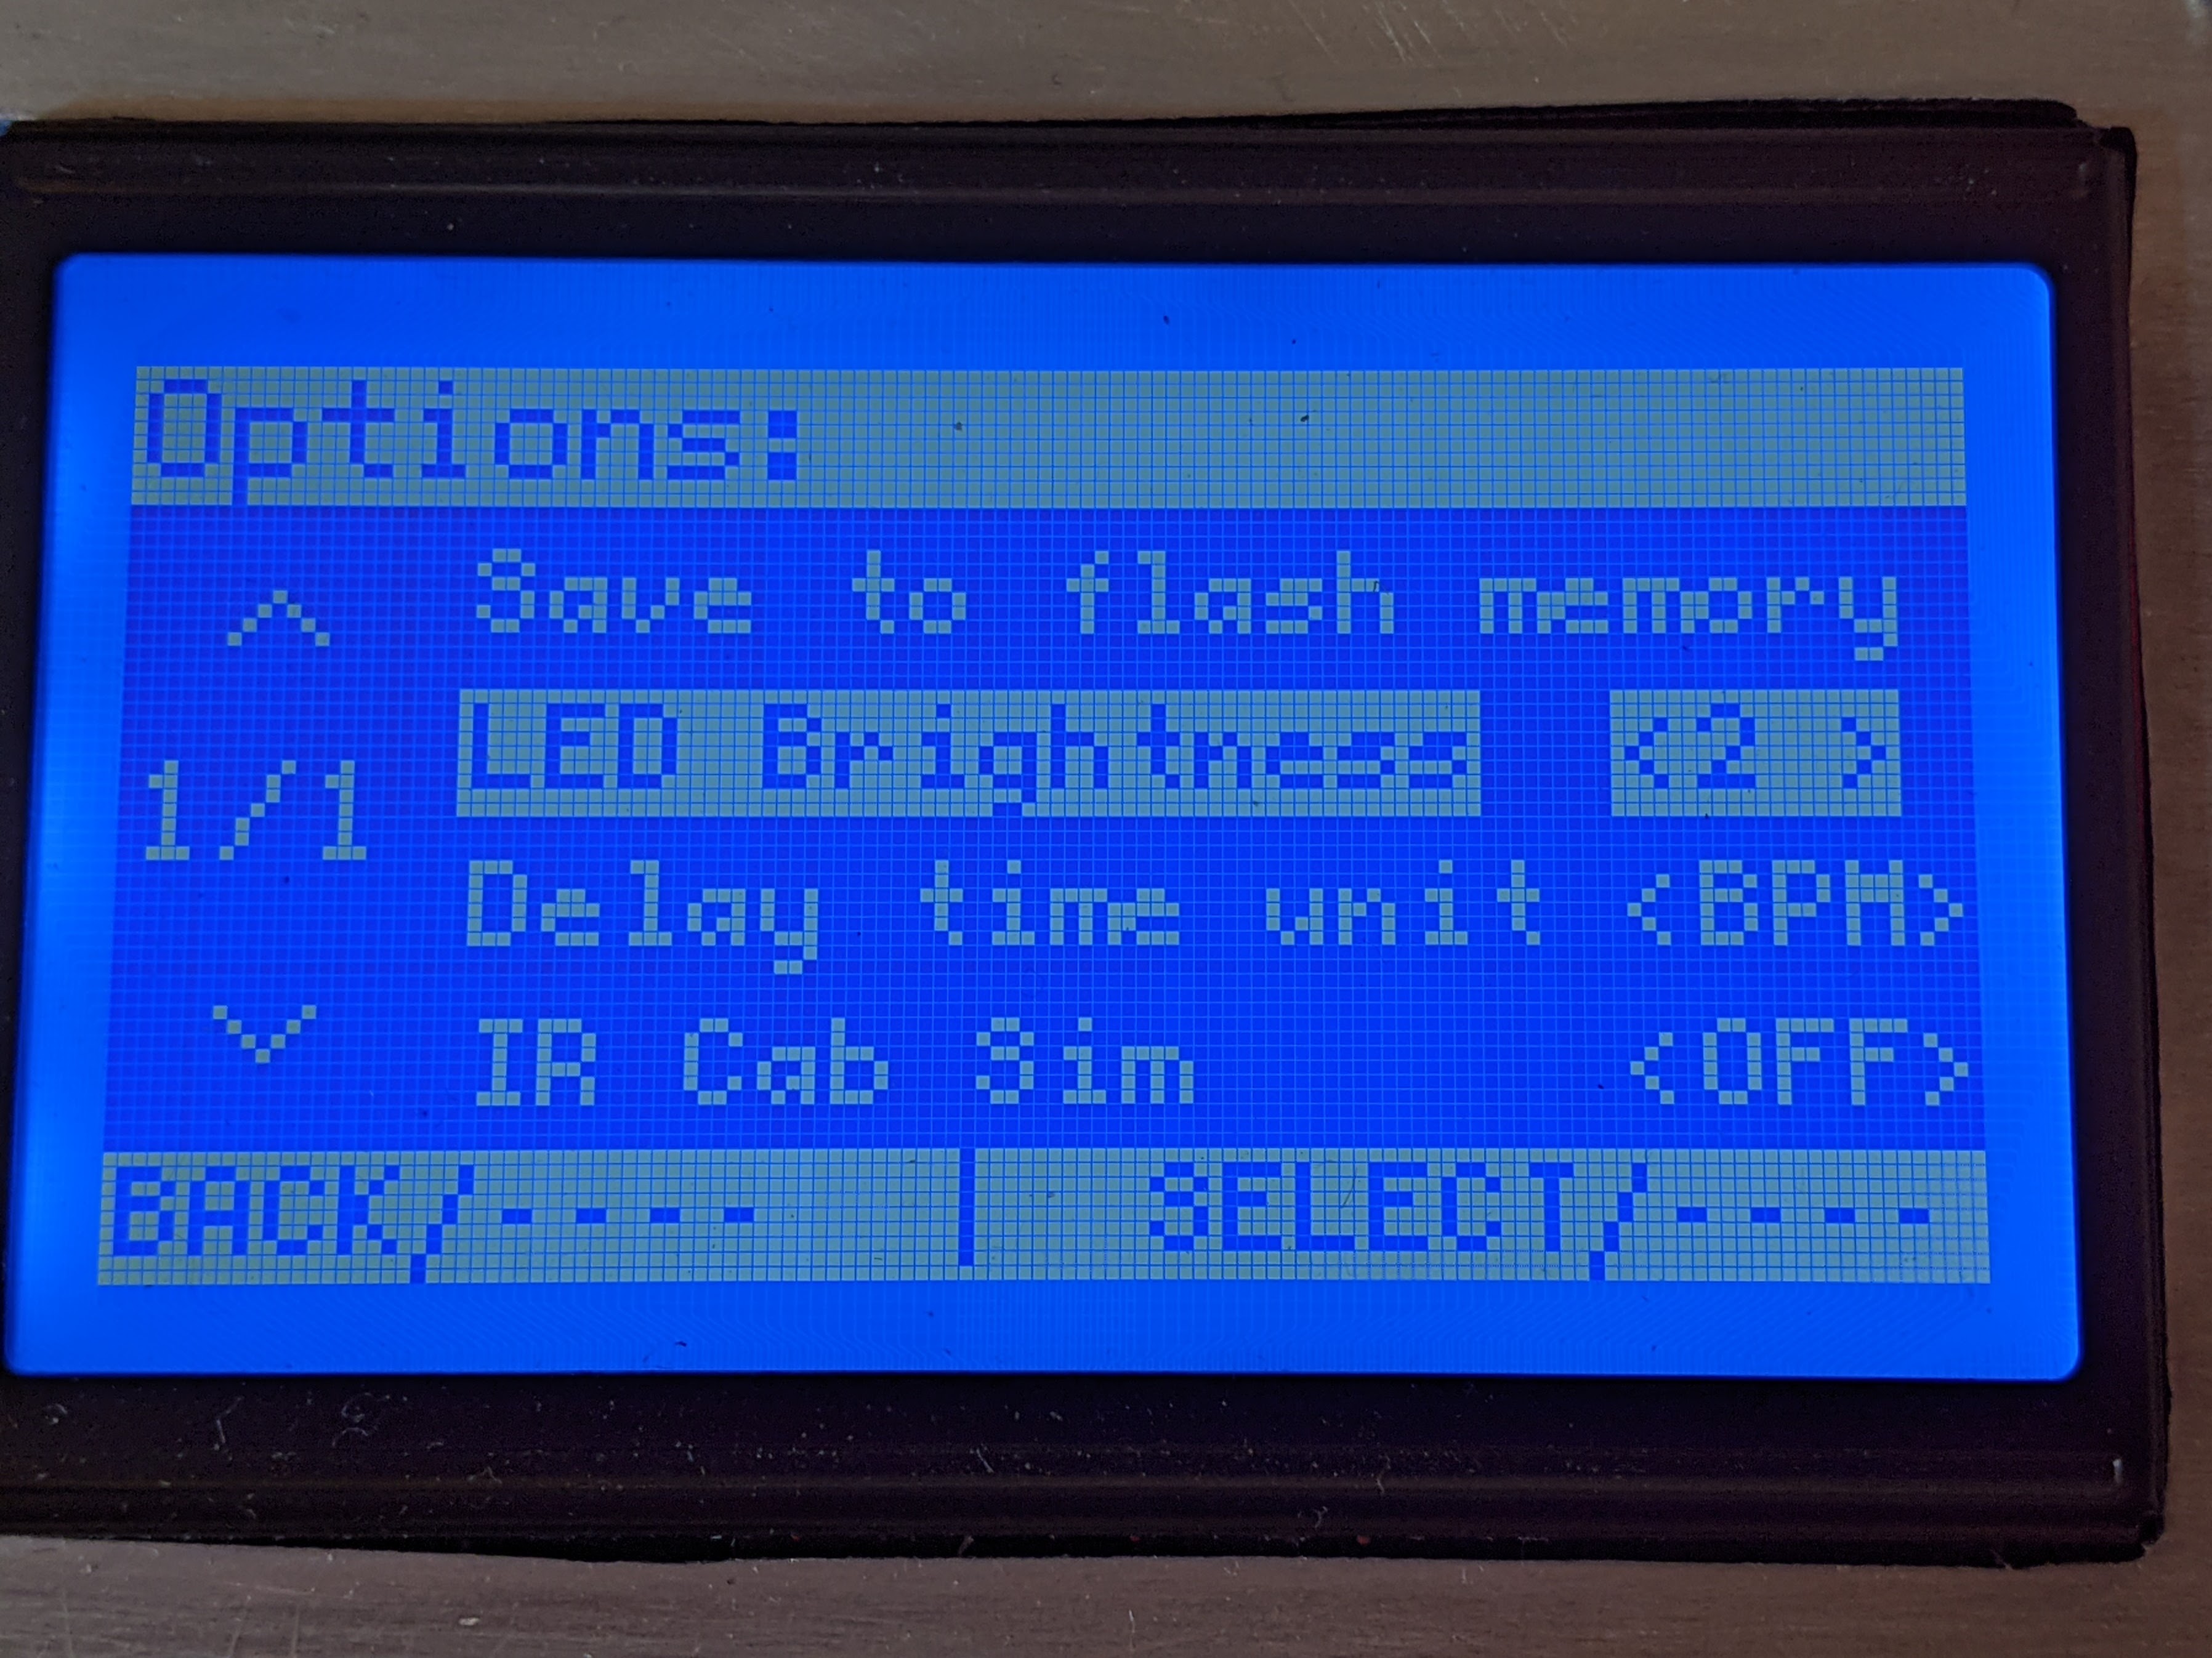
The option menu:
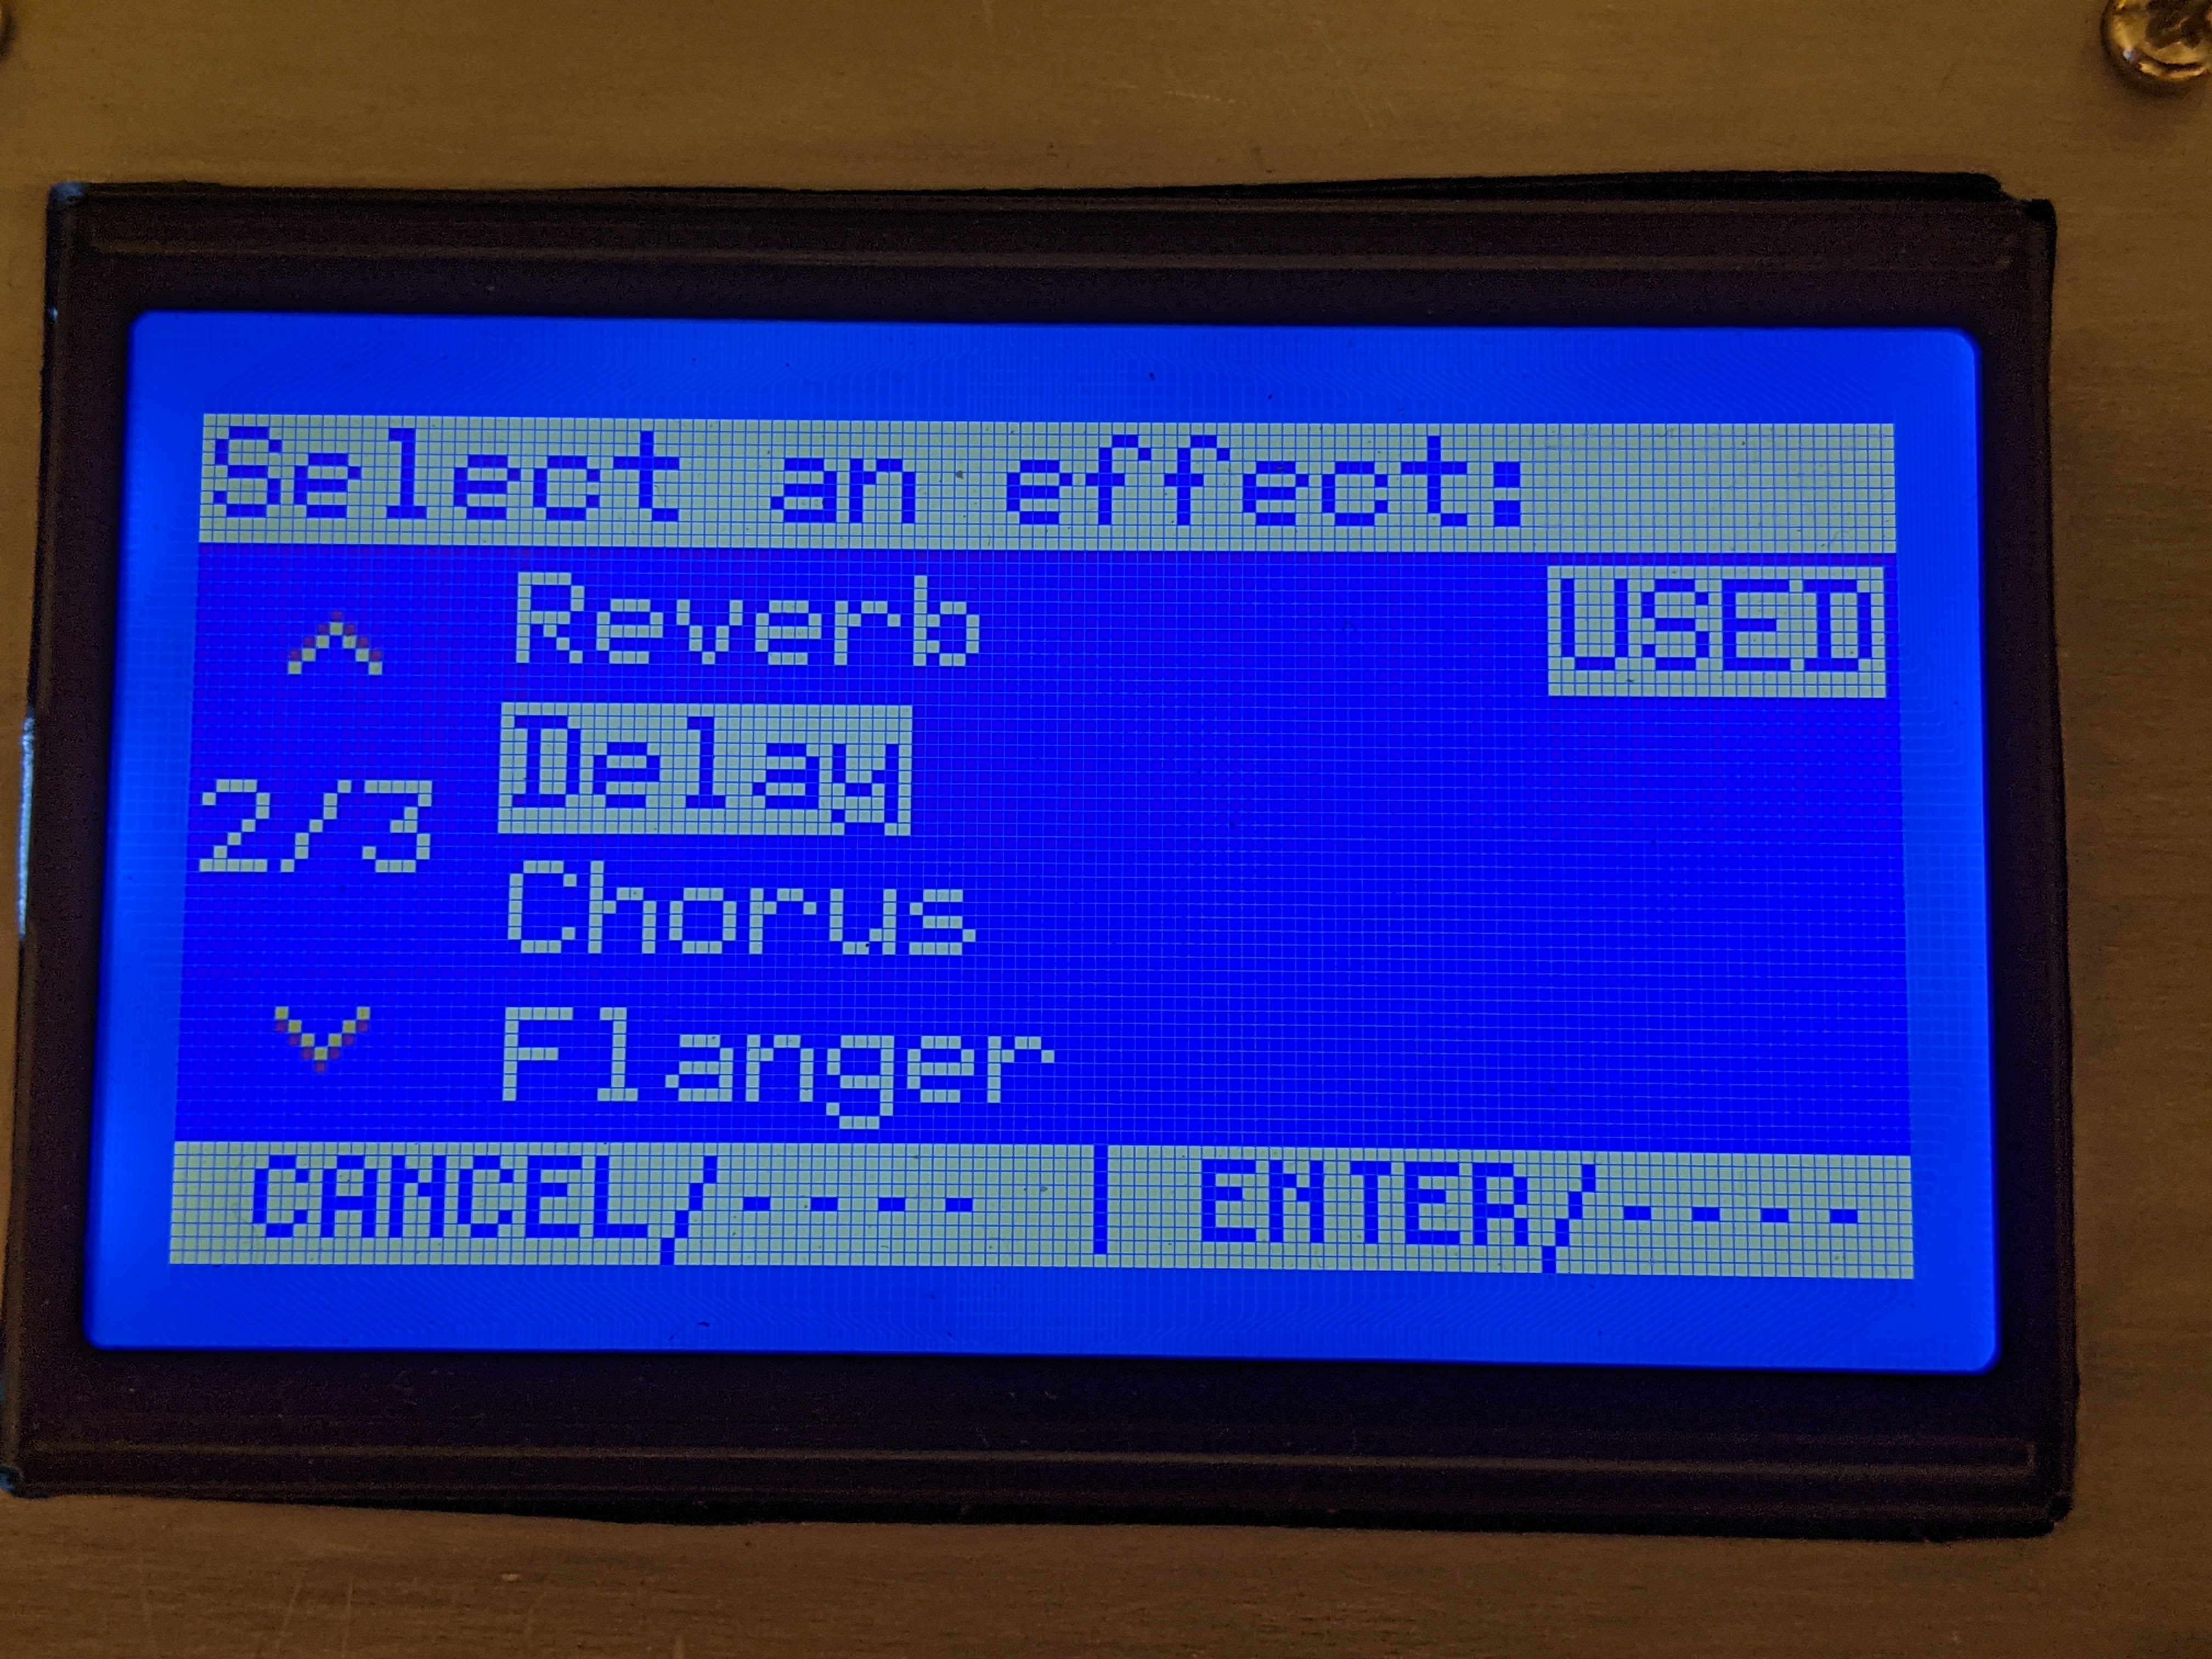
The effect select screen:
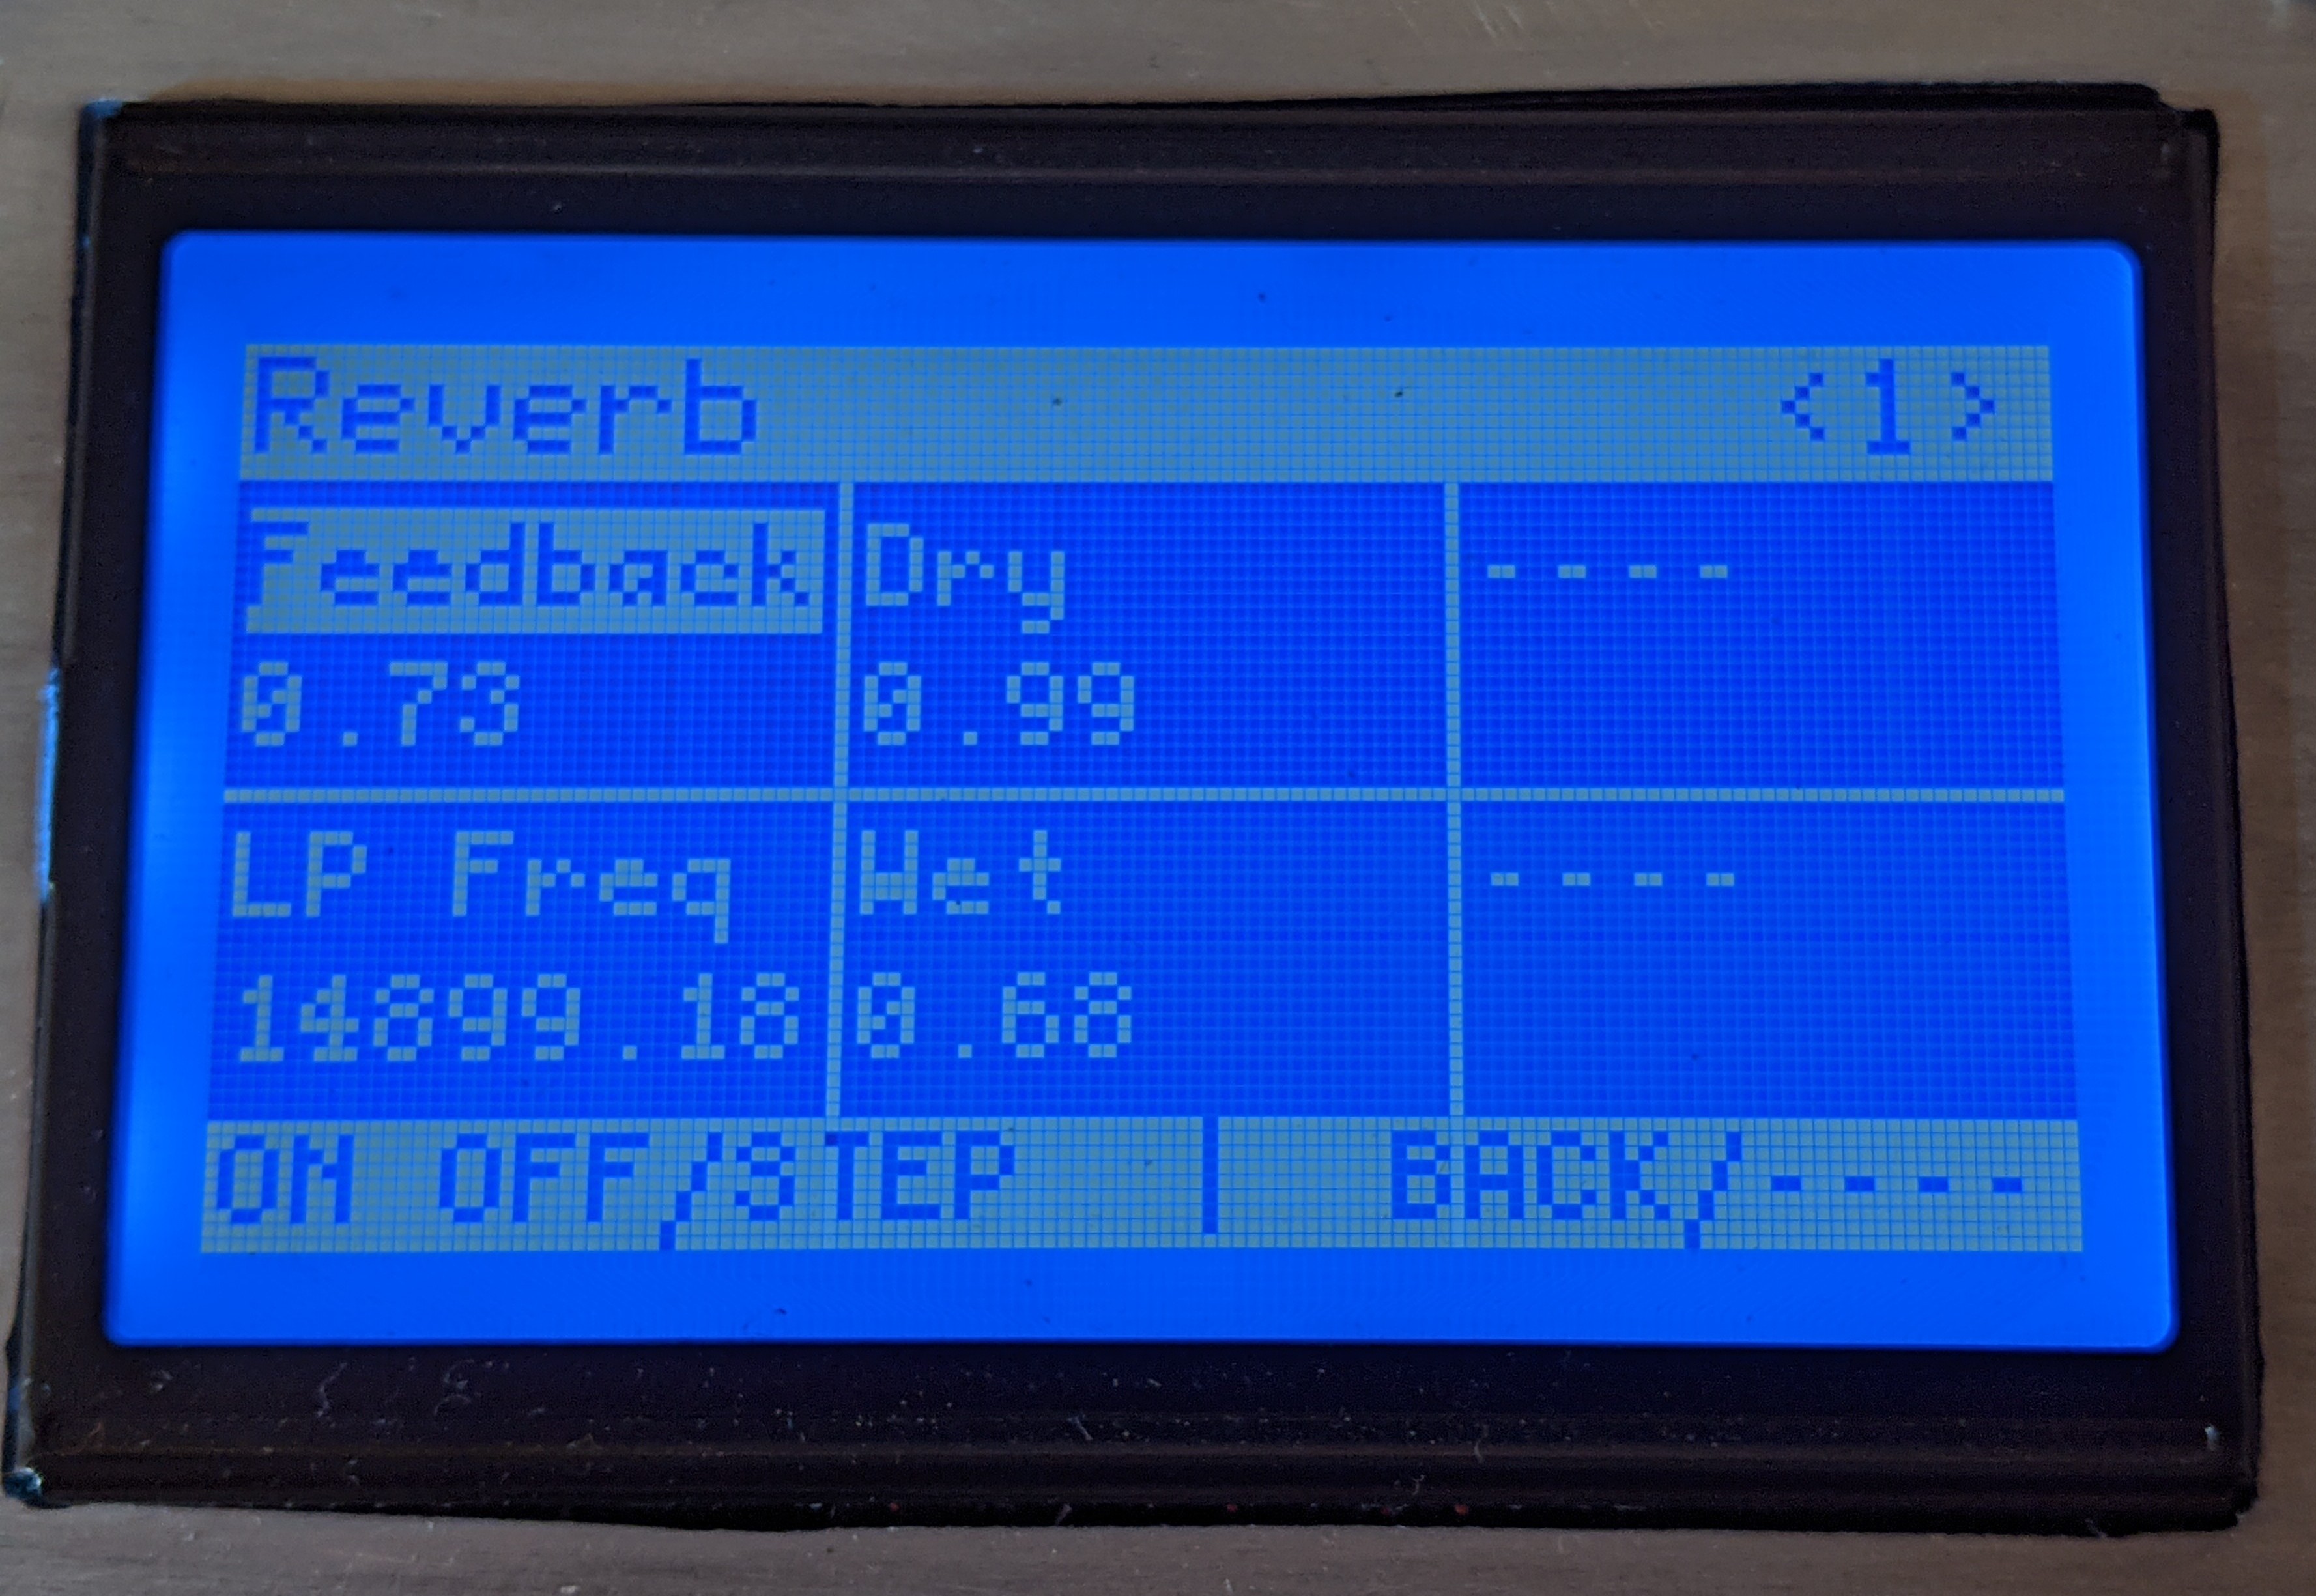
Adjust individual parameters:
Future plans includes: guitar tuner, looper, smartphone control with bluetooth, and more effects.
The code is here on my GitHub.
I’m open to any suggestions and questions😀. I’m no expert in programming, so the code is quite janky, it may have many bugs, but it works fine for now. The Daisy platform is really easy to work with. Also the awesome DaisySP and other Arduino libraries made this a lot easier.