Ah, that’s correct.
We’ve been using git/github for quite a while here. So it’s easy to forget what it may look like to someone new to that environment.
As you’ve noticed, the code for each example is browsable within the folders of each platform’s name.
The Blink Example for the Daisy Seed does have a fair amount of comments to describe the various keywords and what each function is doing.
It does not use the Audio callback since it is simply blinking a light.
Nearly all of the other examples use an audio callback to fill buffers of audio. The number of samples in the buffer default to 48, but can be set to other sizes as well. The size of these buffers determines how frequently the callback function gets called in relation to the audio sample rate. At it’s default 48kHz/48 buffer size the audio callback is called once every millisecond, and presents and input and output to the user that can be manipulated before the data gets clocked out to the analog codec.
There are two options for the audio callback (you may see each in different examples): interleaved, and non-interleaved. You can tell by seeing whether there are one or two asterisks (*) prepended to the input/output arguments.
The various examples should also illustrate how to loop through the audio samples for processing or synthesis. The seed/Tremolo example, which is lacking comments, but is fairly concise, might be a good one to look at for an example of working on individual samples of audio.
We’ll do a little bit more of a deep dive of how this stuff all works in a different forum post, or video tutorial in the coming weeks.
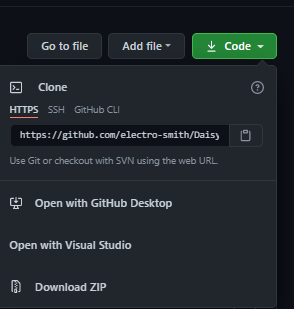
FWIW, there is also a “download” button at the top of the github repo, labeled “Code” in green. that will let you download the source files as a ZIP file. However, this does not include the libraries (DaisySP and libDaisy) that are required to compile it, which is why the tutorials require using git to set everything up.